Frequently asked questions#
General FAQ#
What is Team Notebooks?#
Jupyter notebooks allow data scientists to explore data, train models, and test hypotheses. Being able to run Jupyter is crucial for data science workflows, but individually configuring Jupyter on every workstation can create headaches around authentication, collaboration, and running big jobs.
Team Notebooks, available as an add-on to Package Security Manager (On-prem), solves this problem by utilizing centrally-administered Jupyter notebooks. Authentication, shared environments, storage, and access to computing resources are all set up for you during implementation. Additionally, notebooks are automatically configured to use the secure and trusted packages from your Package Security Manager instance, so your users can focus on business needs instead of installation and configuration.
Team Notebooks also includes ongoing maintenance and support, ensuring your team gets all the benefits of centralized notebooks without the IT burden of maintaining JupyterHub.
What do I get with Team Notebooks?#
Team Notebooks provides you with a method of managing a JupyterHub instance using the tools that power Package Security Manager. You can create and manage groups of users, assign them roles, and supply them with custom channels populated with safe, Anaconda-curated packages, based on their specific needs.
Is Team Notebooks different from JupyterHub?#
Team Notebooks is JupyterHub combined with the added authentication, security, and management capabilities of Package Security Manager, all in one centralized location.
How do I access Team Notebooks?#
You can log in to your Team Notebooks by using your Package Security Manager credentials. Get the web address for your Team Notebooks from your IT administrator. If you do not have Package Security Manager credentials, ask your Package Security Manager administrator.
How do I upload a notebook to the service?#
In the JupyterLab interface, click Upload files in the File Browser to browse for a local .ipynb file. Then, click Open. The notebook will appear in the left-hand menu.
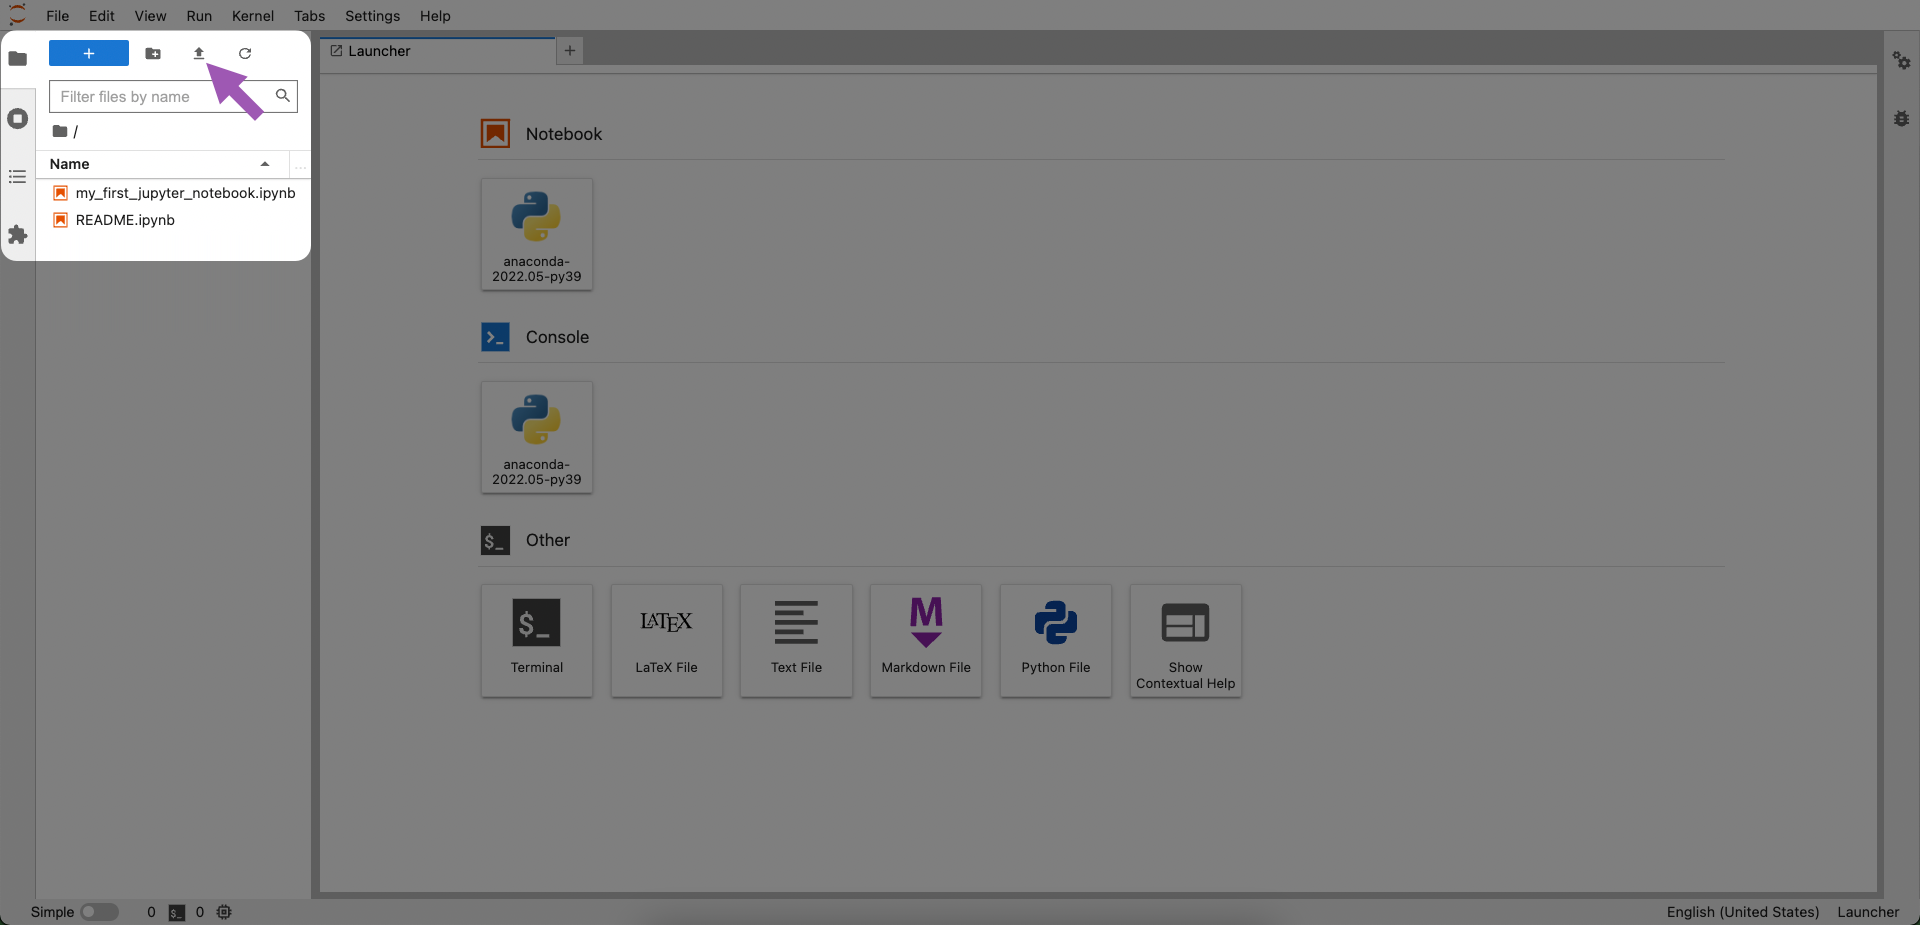
You can also drag and drop a notebook from a folder on your system to the file browser to upload it.
How do I save my notebooks?#
Like most IDEs or editors, JupyterLab has the standard “Save” and “Save As…” functions that saves a notebook in your directory on the remote server. You can also download a notebook file from the File menu to save it locally on the machine where your browser is running.
Where are my packages coming from?#
The packages available to your JupyterHub users are supplied by your instance of Package Security Manager. If you need any additional packages, you must contact the administrators of your Package Security Manager instance.
Can I upload new packages or create custom environments in Anaconda Notebooks?#
It is possible to upload packages and environments for your JuypterHub users. For more information, see the official Package Security Manager documentation.
Troubleshooting#
My notebook is trying to import a package, but I’m getting an error#
The most common cause of errors is a lack of required package(s) installed in your environment. The packages available to you are provided through your Package Security Manager channel. If the packages you need are unavailable, talk to your Package Security Manager administrator to mirror the packages you need to your channel. You must create a custom environment prior to installing packages.
Here are a couple of steps to help resolve this:
Make sure you have the right kernel/environment selected
Separate environments are represented as “kernels” in JupyterLab. You can view and switch between available kernels by clicking the kernel name in the upper-right corner of the content pane.
List the packages available in an environment
You can view which packages are available in your current environment from the terminal by running conda list. To view packages in a specific environment, run conda list -n <ENV_NAME>. To see a list of available environments, run conda info --envs. An asterisk appears beside your current (active) environment.
Tip
You can run those commands directly in a code cell within your notebook just by adding a “!” to the front of the command (e.g. !conda env list).
Troubleshooting your conda token#
Your conda token is a scope-based token that is encoded with your permission levels within Package Security Manager. It exists in both the .conda/tokens and .config/binstar directories and has a lifespan of thirty days.
If you are receiving a 401 HTTP error, it is likely your token has expired. Log out from Team Notebooks, then log back in. This will refresh your token.
If you are receiving a 403, talk to your administrator to ensure you have the appropriate roles and permissions associated with your token.
I am receiving a libcrypt.so.1 error post installation#
Amazon Linux does not include libxcrypt-compat, which causes nginx services to error when starting.
To correct this error, install the libxcrypt-compat package on your JupyterHub server by running the following command:
sudo yum install libxcrypt-compat
After installing the package, run the following command:
sudo systemctl restart nginx.service