Groups#
Creating groups allows you to assign members of your organization to a specific set of channels you’ve created within Package Security Manager (On-prem). These channel sets are private and only accessible to authenticated users who are assigned to the groups that contain them.
It is also important to understand that any permissions that can be granted to an individual by assigning them a role can also be granted to multiple people by assigning the role to a group. This is useful when utilizing a federated user identity server (such as LDAP/AD). For more information about group permissions, see Group roles.
Anaconda utilizes Keycloak to manage groups. However, any action that is taken in Package Security Manager will also be applied in Keycloak, meaning you can perform most group management functions directly in Package Security Manager UI. Keep in mind, there are exceptions to this, and some tasks must be performed within the Keycloak UI.
Viewing your groups#
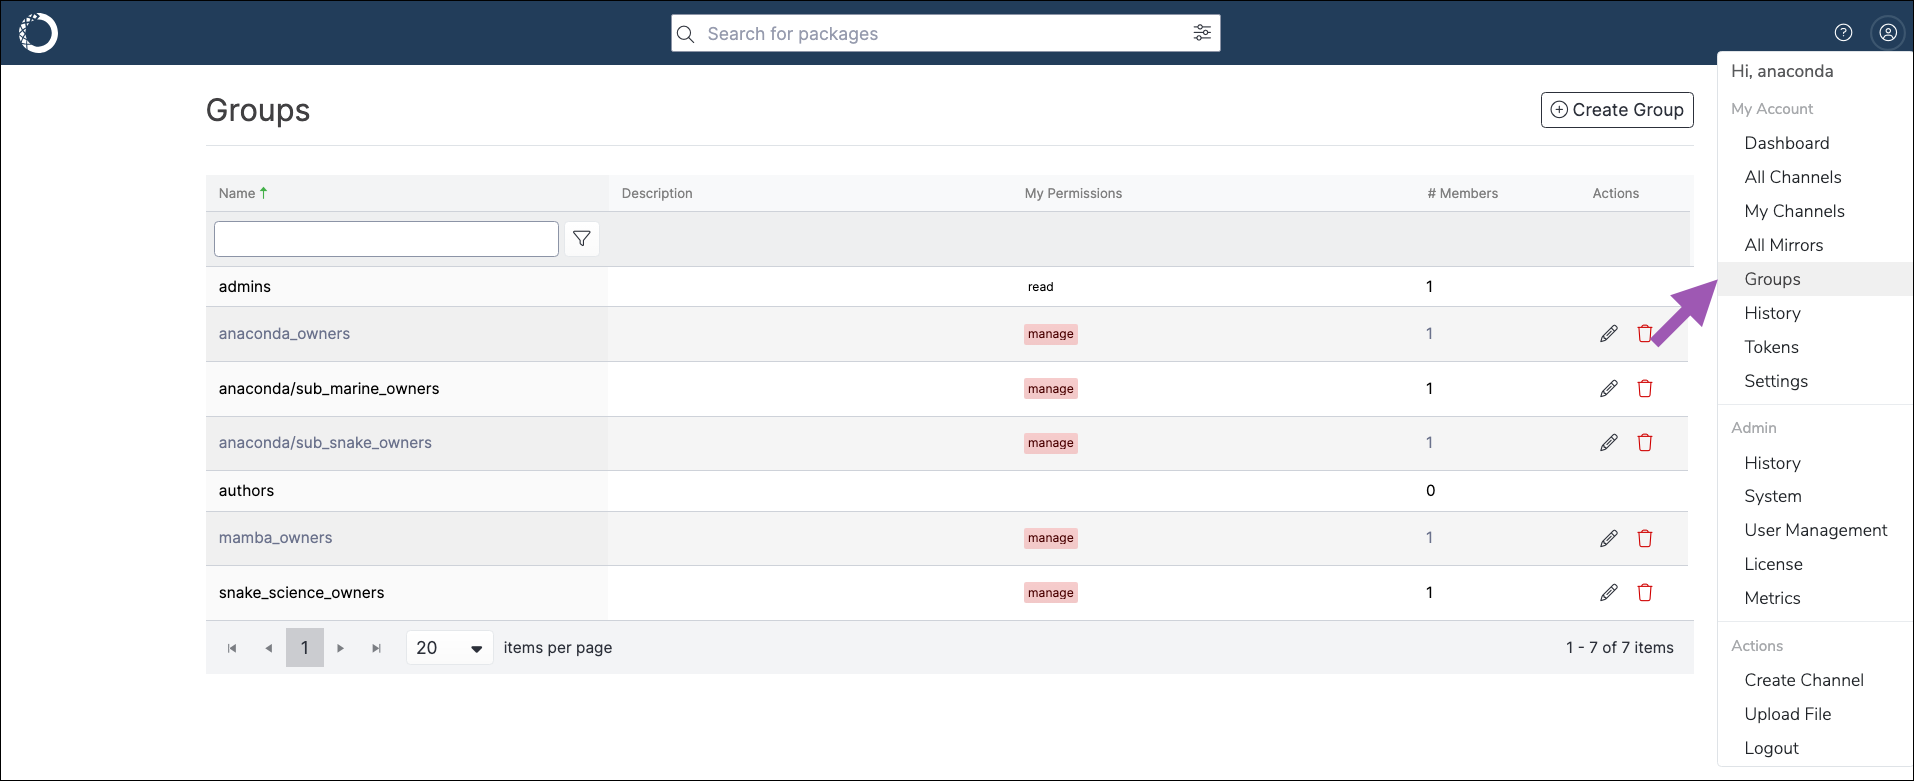
To view your groups at any time, open the user dropdown menu and select Groups.
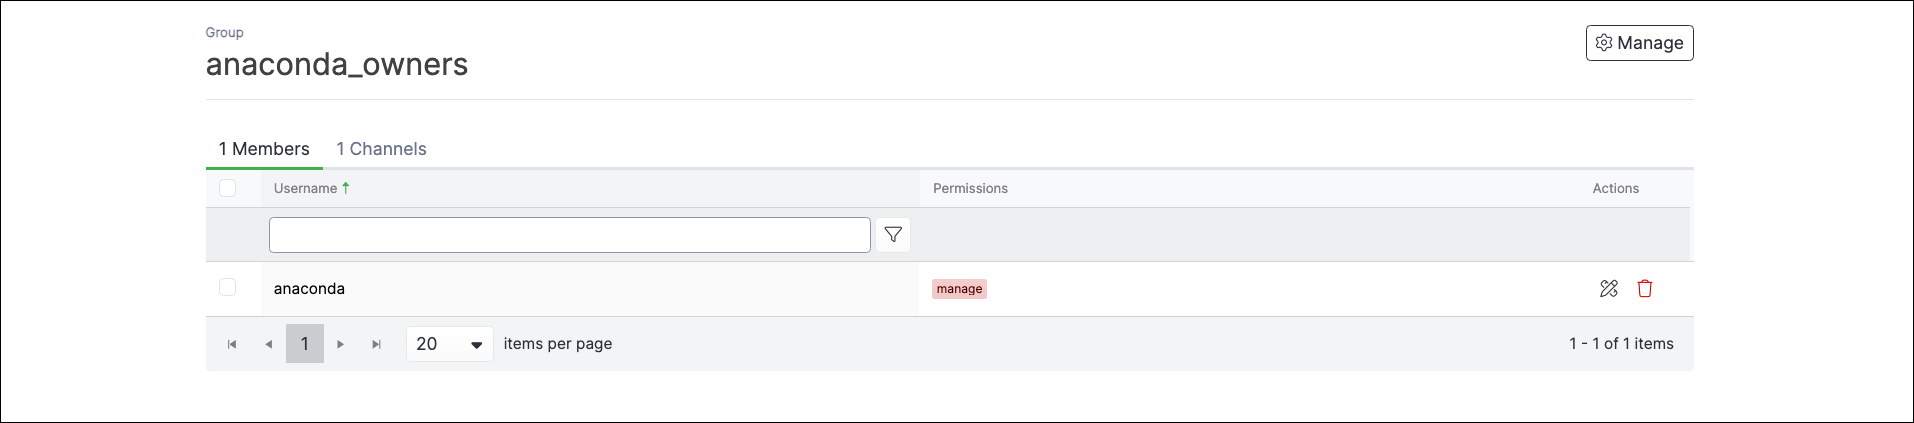
Select a group from the list to view its associated channels and members.
Groups of users imported from external directory servers (such as LDAP/AD) also appear in this list, if the servers are synced.
Creating a group#
To create a new group, complete the following steps:
Log in to Package Security Manager.
Navigate to the Groups page and click Create Group.
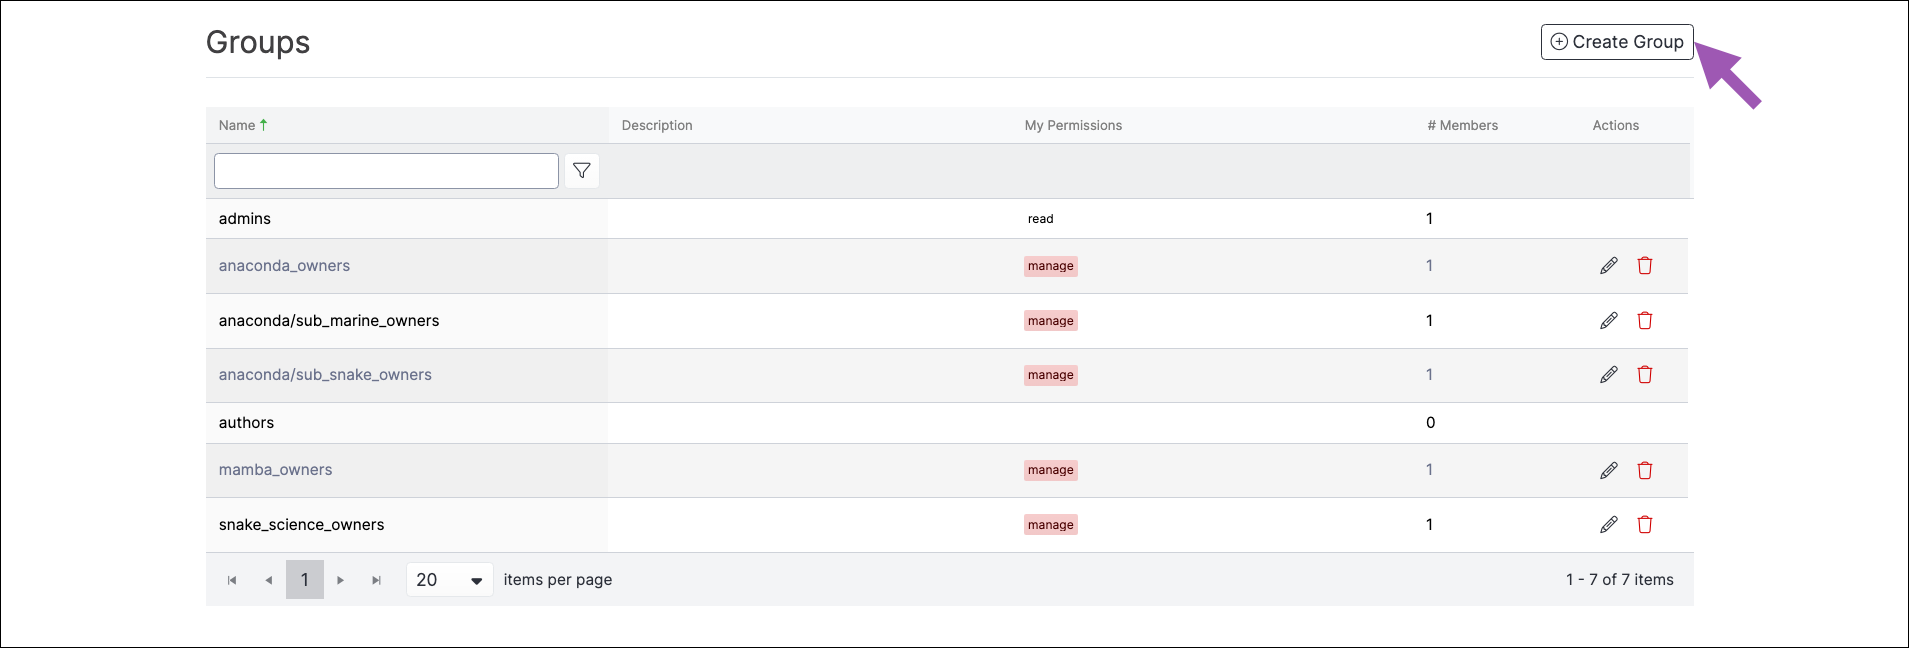
Enter a unique name and provide a brief description for your group, then click Create.
Adding members to a group#
To add members to a group, complete the following steps:
Log in to Package Security Manager.
Navigate to the Groups page.
Select your group.
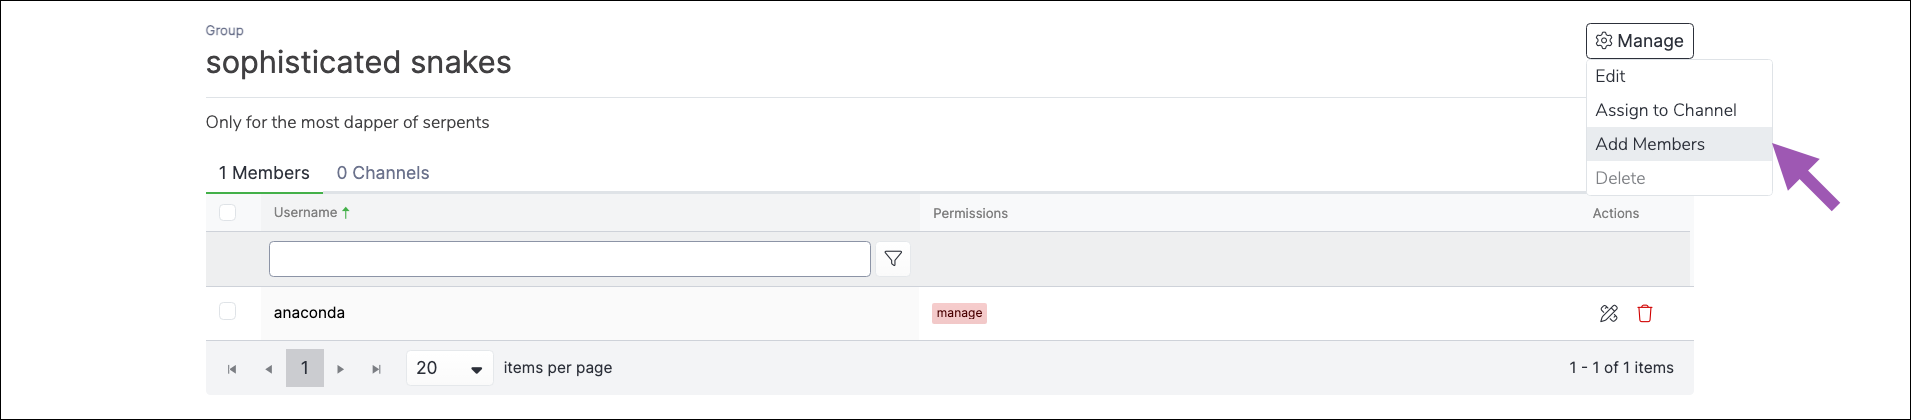
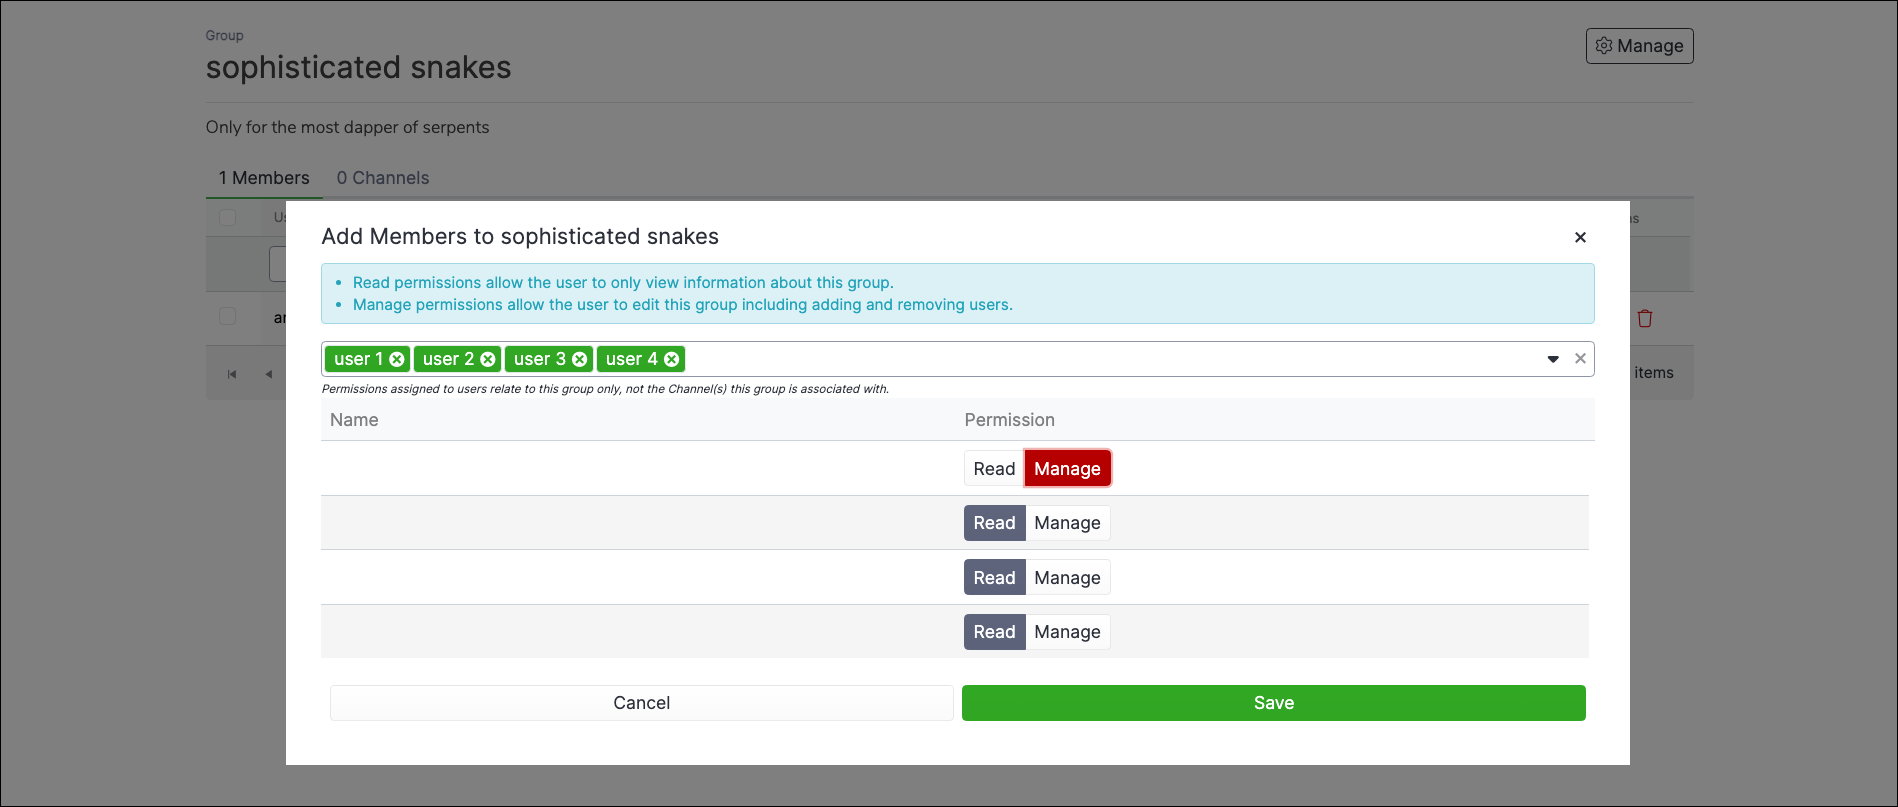
Open the Manage dropdown menu and select Add Members.
Enter a username in the search field to find a member, then click on the user to add them to the group. Repeat this process until all members have been added to the group, then click Add.
Assign permission levels for each member you’ve added to the group, then click Add.
Removing members from a group#
To remove members from a group, complete the following steps:
Log in to Package Security Manager.
Navigate to the Groups page.
Select your group.
Click the delete icon to the right of the username.
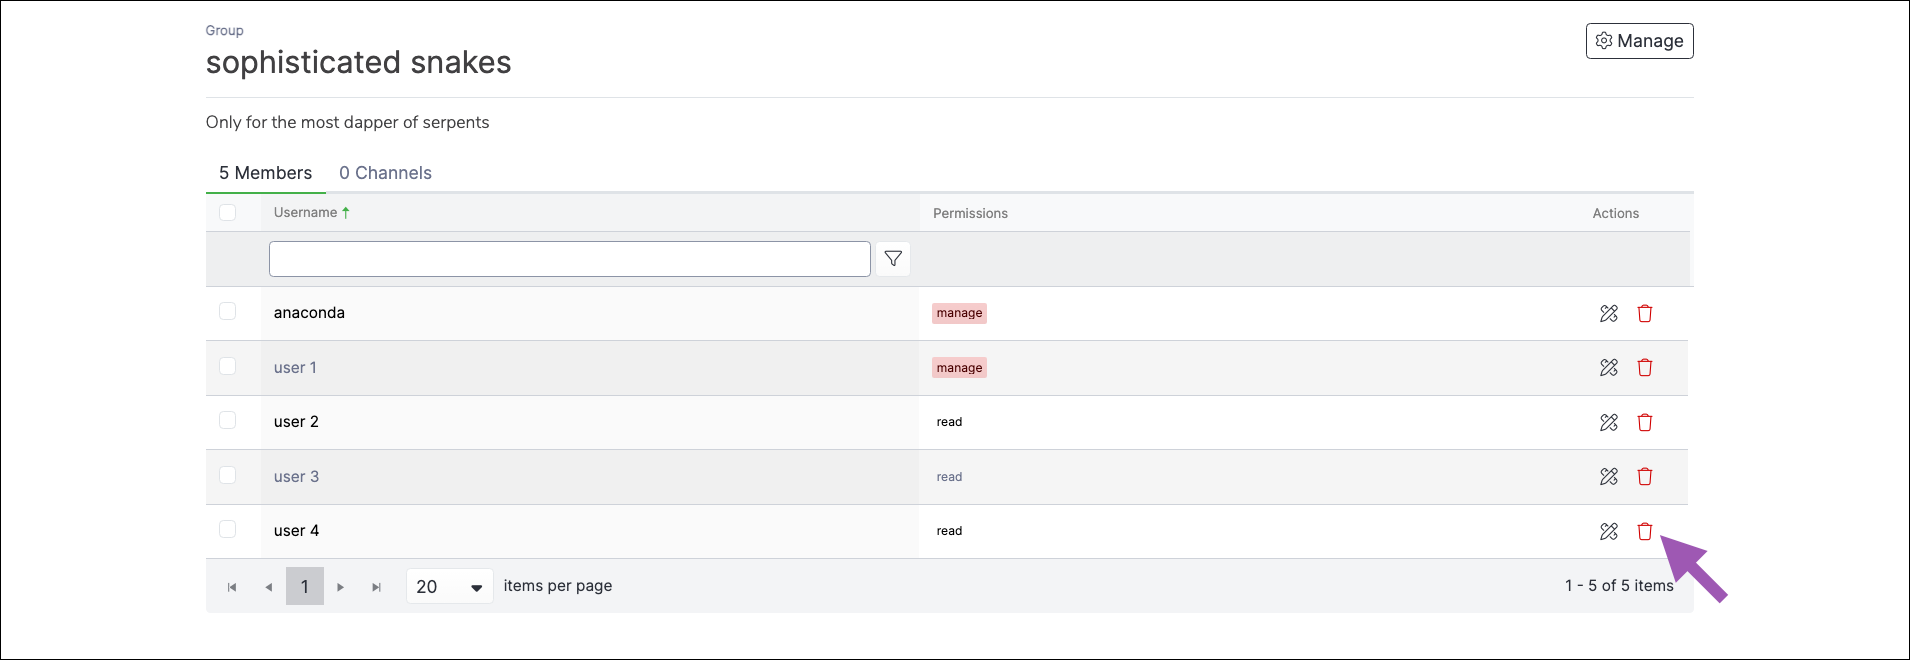
Click Remove to confirm that you want to remove the member from the group.
Adding channels to a group#
To add channels to a group, complete the following steps:
Log in to Package Security Manager.
Navigate to the Groups page.
Select your group.
Open the Manage dropdown menu and select Assign to Channel.
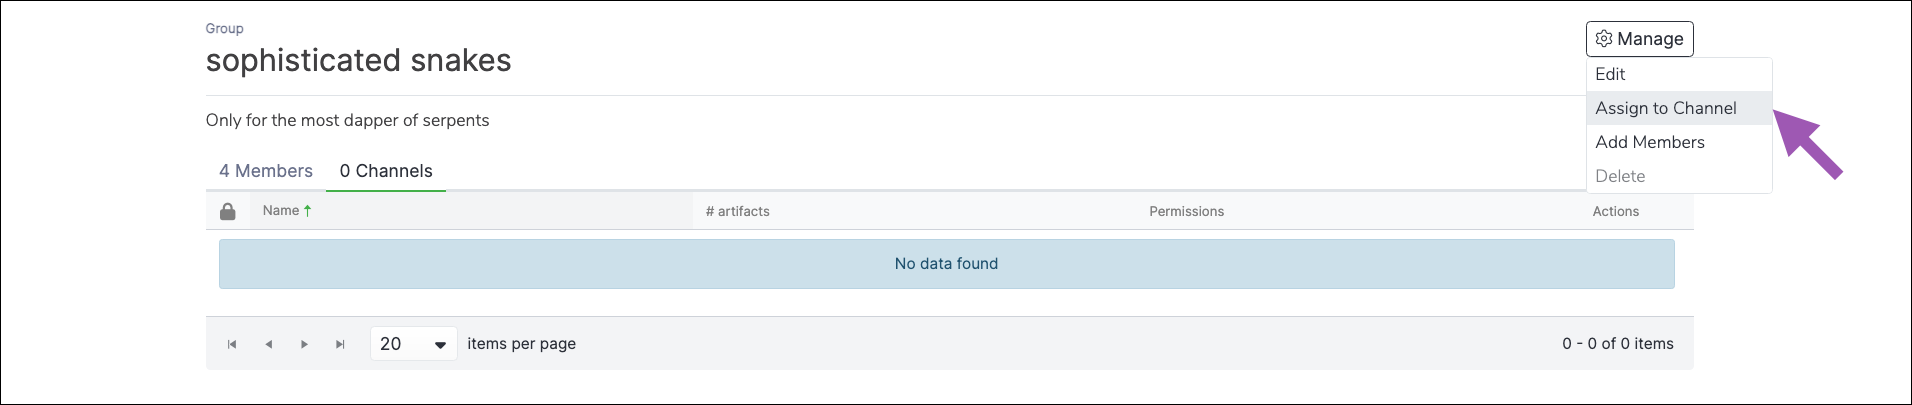
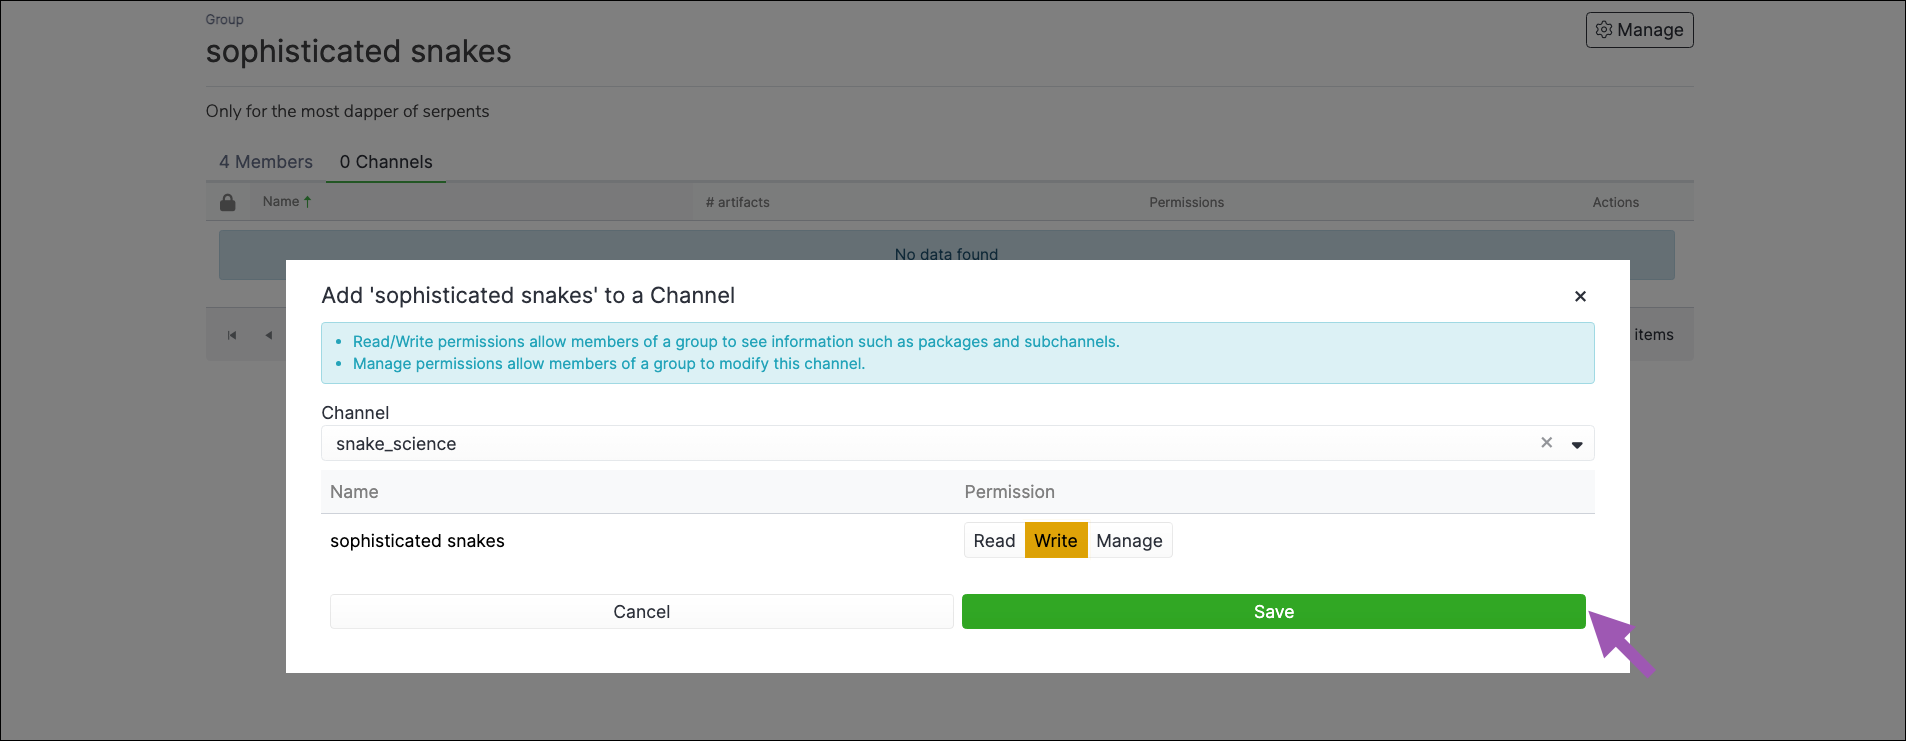
Open the dropdown menu and select a channel to assign to the group.
Set the permission level for group members to have within the channel, then click Add.
Note
You can assign multiple channels to a group, but you must add them one at a time.
Removing channels from a group#
To remove channels from a group, complete the following steps:
Log in to Package Security Manager.
Navigate to the Groups page.
Select your group.
Click the channel’s delete icon.
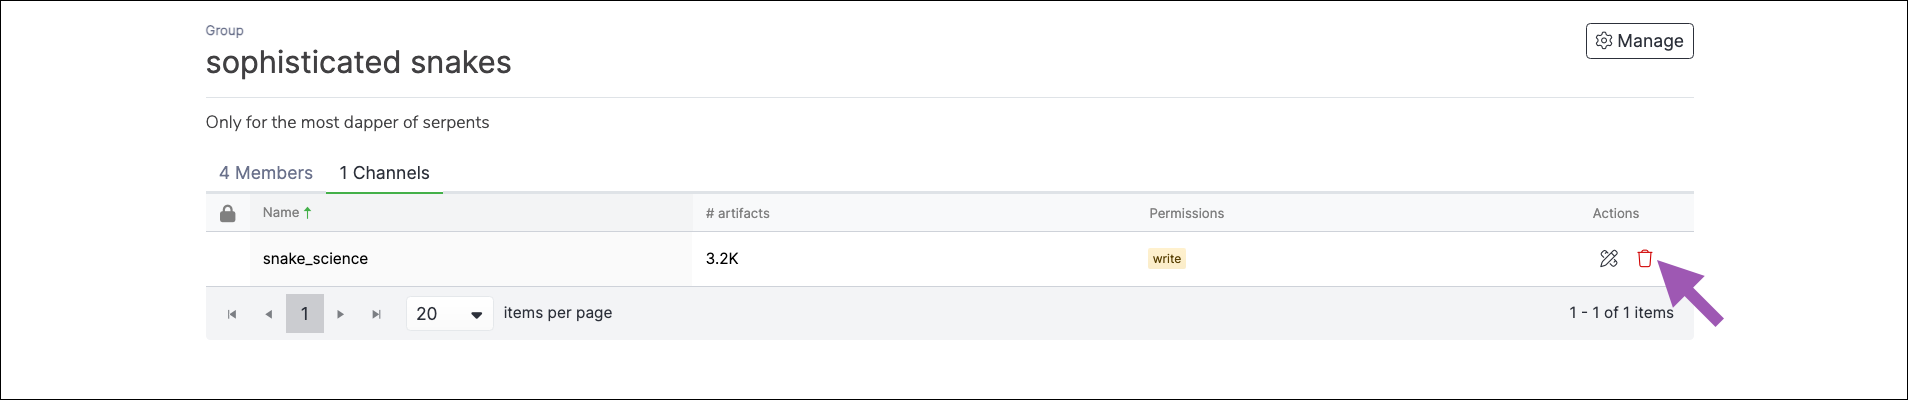
Click Remove to confirm that you want to remove the group.
Deleting a group#
Only the group owner can delete the group. To delete a group, complete the following steps:
Log in to Package Security Manager.
Navigate to the Groups page.
Select your group.
Open the Manage dropdown menu and select Delete.
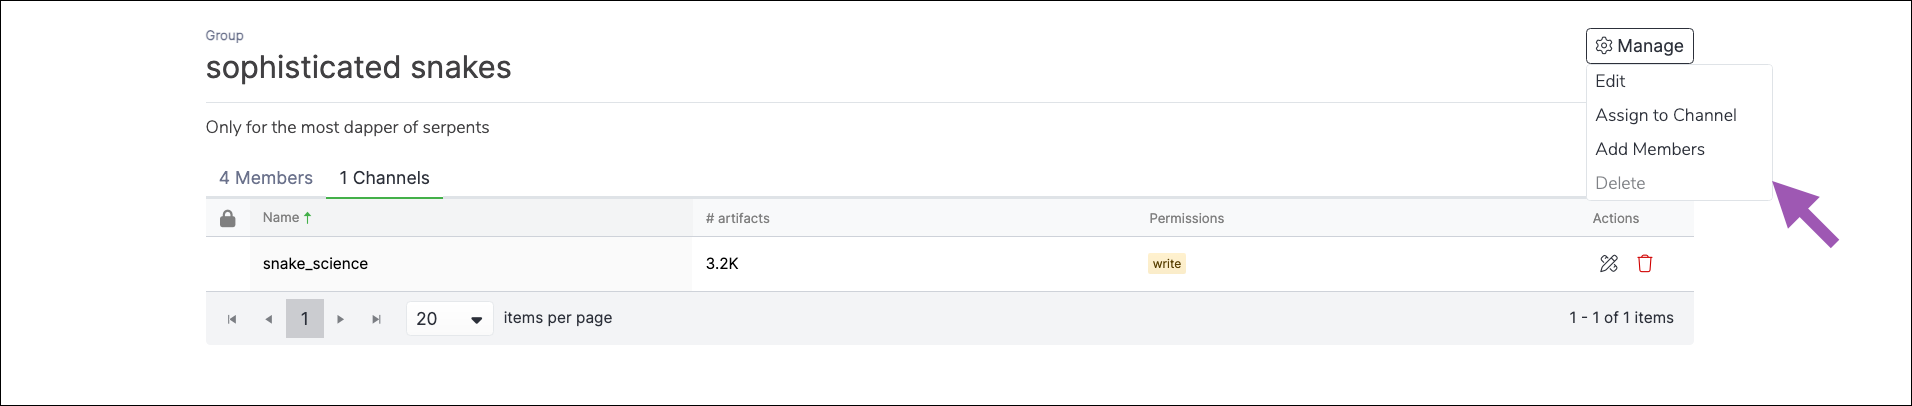
Click Remove to confirm that you want to delete the group.